What Are Maker Code Instructions for Interactive Learning?
Maker code instructions for interactive learning are step-by-step guides that let you build functional projects using code, with immediate feedback. They’re ideal for beginners and educators who want hands-on coding experience without theory overload.
When to Use These Instructions
Use them when you're setting up a classroom activity, running a workshop, or exploring coding on your own. They work best in environments where trial and error is encouraged like after-school clubs, STEM labs, or personal learning sessions.
For example, creating a simple LED blinker with a microcontroller using basic maker code examples helps learners see how code controls real hardware.
How to Adapt Instructions to Your Needs
Adjust the complexity based on your experience level. If you're new, start with pre-built templates that include comments and clear variable names. For advanced users, modify the logic to add sensors or animations.
If working with students, break down longer scripts into smaller tasks. Assign one function per session like reading a button press, then changing a color, then logging data.
Common Mistakes and Fixes
One frequent error is skipping syntax checks. A missing semicolon or bracket can stop the entire program. Always test small sections before combining them.
Another issue is assuming all devices behave the same. An instruction that works on an Arduino Uno might fail on a Raspberry Pi Pico due to pin differences. Check device specs first.
To fix this, use version-controlled code from trusted sources like verified coding class resources. Copy-paste only what’s needed, then tweak incrementally.
Simple Tips for Home Practice
- Use a physical workspace with labeled components this reduces confusion during debugging.
- Write notes beside each line of code explaining its purpose. This builds understanding over time.
- Test every 10 lines instead of waiting until the end. Catching errors early saves time.
Next Steps: Start Small, Build Confidence
Choose one project from ready-to-use educational templates. Follow the steps exactly at first. Then change one element swap a sensor, adjust timing, or add sound.
Once you’ve completed a project, document what worked and what didn’t. That record becomes your next learning tool.
- Select a beginner-friendly template
- Set up your hardware and software
- Run the code and observe results
- Make one small change and retest
- Update your notes with observations
 How to Create Maker Code Projects
 Maker Code Projects for Beginners
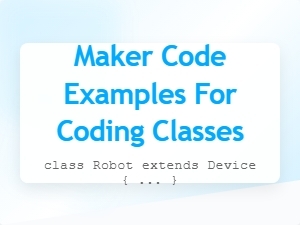 Maker Code Examples for Coding Classes
 Maker Code Templates for Educational Use
 Maker Code Projects for Beginners in Hardware Hacking
 Hardware Hacking Tools for Diy Enthusiasts